Article is outdated. Find newest Jailbreak and Unlock HowTo for iPhone Firmware 3.0 here.
Note
We need to stress: respect the laws of the country you live in. For instance as german citizen with a T-Mobile Germany plan and iPhone you are not allowed to jailbreak or unlock your iPhone. T-Mobile is not kidding in this topic, as we’ve all seen with the sipgate sue (we reported here). This tutorial is in no way meant as an invitation to do things that are in violation of your contracts. We cannot be held responsible for bricking your devices. You do everything at your own risk and responsibility. Thanks.
I. Abstract
Pwnage Tool 2.0 is the newest tool to unlock and jailbreak “old” iPhones (iPhone 2G) and jailbreak “new” iPhones (iPhone 3G). It is developed, maintained and provided for free by the iPhone Dev Team. The Dev Team already provided Pwnage Tool 1.0 (see recent tutorial here).
This tutorial is for Mac users only who previously activated and unlocked their iPhones using Pwnage Tool 1.0. The release of Pwnage Tool 2.0 has been delayed in the last few days because of several bugfixes and issues that occurred during latest test. As we’ve used Pwnage Tool 2.0 in the last hours on some old iPhones, we can say: in contrast to Pwnage Tool 1.0, we encountered some problems with Pwnage Tool 2.0. Keeping that in mind it is your own risk to prolly brick your iPhone. We cannot be held responsible for your actions.
II. Preparations
A Microsoft Windows version of Pwnage 2.0 has not yet been released. Get yourself a Mac, it really is time to switch :-)
You need to download and install a couple of programs
- download and install Pwnage Tool 2.0.1 (here or here) / Updated links to new Pwnage 2.0.1
- download bootloaders.rar (for legal reasons, we can’t provide a direct download link as we are in Germany. Do a simple Google search for bootloaders.rar)
- update to iTunes 7.7 (using Apple Software Update)
- download iPhone Restore Firmware 2.0 (here)
III. Fasten your seatbelts
Before taking off, we highly recommend to do the following preparations on your iPhone:
- backup/synchronize current calendar and address book using iTunes
- backup current SMS using Syphone (download here)
In case you didnot, we highly recommend you read our tutorial about activating and unlocking iPhones with firmware 1.1.4 (see here).
IV. Take off
…into the wide open world of unlocked and jailbroken iPhones.
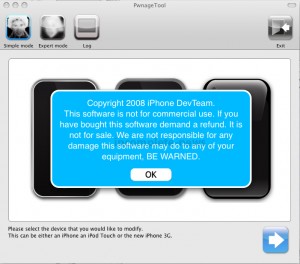
- Start Pwnage Tool 2.0, and
click OK.
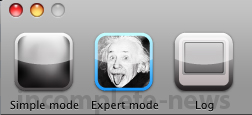
- Choose
Expert Mode
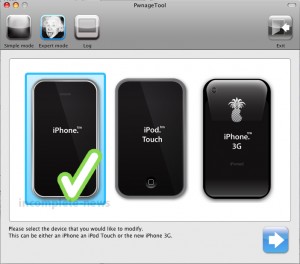
- Select iPhone 2G, and
click the blue arrow
- After clicking the blue arrow you will see a window like this:
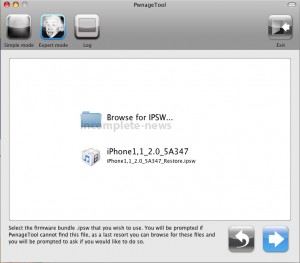
Note: we encountered errors when browsing for the IPSW firmware that we manually downloaded several times:
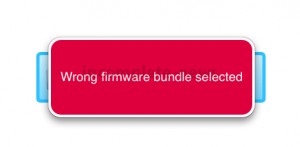
We circumvented this error by letting iTunes download the firmware. But be careful
let iTunes only download the firmware. Don’t choose download and install!!!

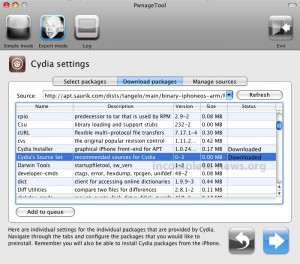
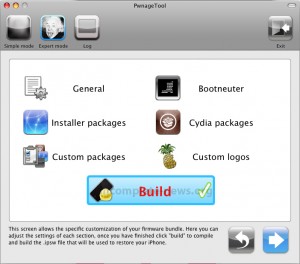
- When Pwnage feels like the Firmware is the right one, it will show this picture, where we can manually change some settings. We highly recommend to change nothing but the
Cydia packages. We even leave the pictures the same.
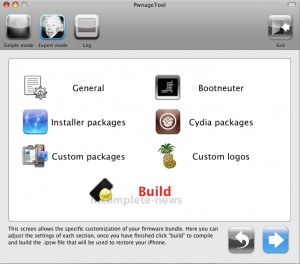
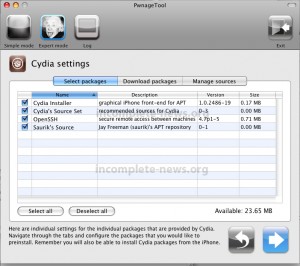
- Inside the Cydia packages menu we recommend to choose these files for download:
OpenSSH, Cydia Installer, and Cydia's Source Set. These files will automatically become downloaded in the background.
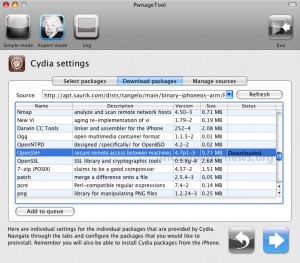
- Make sure you select the above downloaded Cydia packages. Under
Select packagesyou can check them, in case the packages are not pre-chosen for including into your custom IPSW. Thenclick the blue arrowagain.
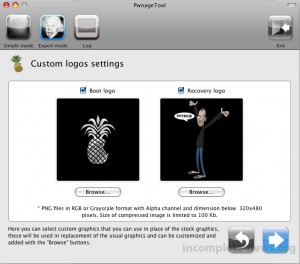
- After having clicked the blue arrow again, we may
choose new logos. We recommend to leave these as they are andclick the blue arrowagain.
- Pwnage Tool 2.0 feels we are ready and shows “Build” with a checkmark. We click the
blue arrow again and can already smell the pwrn.
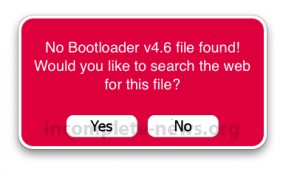
- You may provide the bootloaders now, by
clicking Noto search the web for them (we only show the 4.6 bootloader question, in fact there will be same question for the 3.9 bootloader).
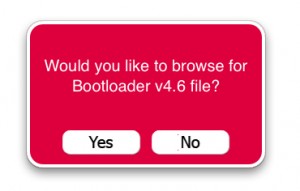
- After having chosen the bootloader Pwnage needs to know where to
save the custom IPSWfile. It will show a picture similar to this:
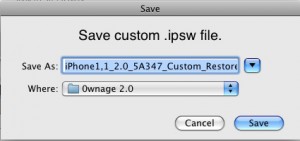
After having chosen the target filename and folder, Pwnage will submissively begin its work.
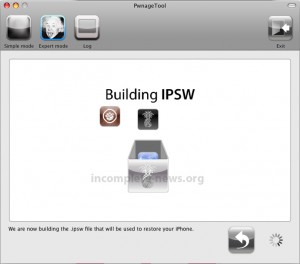
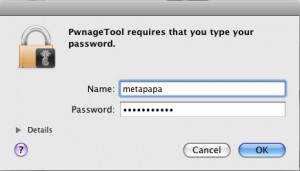
At a specific point of work, Pwnage will require your
admin password. This is due to a limitation of access to the filesystem.
- After working some minutes you will be shown this menu. Since we are all obedient Pwnage users (aren’t we?) we already had used Pwnage 1.0 before. And therefore we choose Yes.
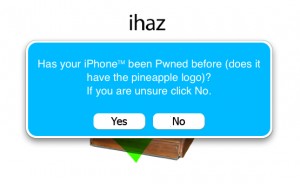
- Pwrnage Tool will wish us the best for our recovery and
wants to be quitted:

V. Approach for Landing
- As our odysee thru iPhonitis is not over, we need to
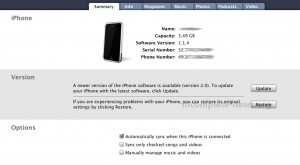
start iTunes(we have our iPhones connected!). And we choose the iPhone menu in iTunes (looks like this picture:)
- We need to restore our 0wn firmware, therefore we need to
hold the ALT key and press Restore Button. We will get a dialog, where we canchoose our custom firmware: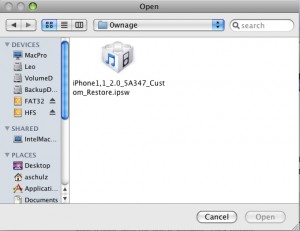
- iTunes will begin its work of extracting and restoring our custom firmware. This process will take some minutes. Don’t disconnect during this period. You would have an expensive brick then.
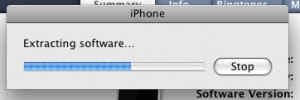
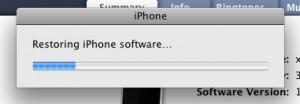
- After restoring successfully the custom firmware to your iPhone your iPhone will reboot and eventually show a screen that indicates that the baseband is currently in process of getting unlocked:
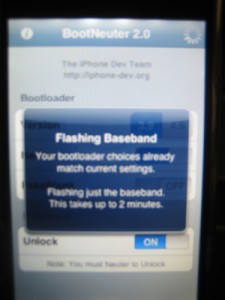
- After the baseband flashing has been finished, your iPhone will reboot again and will show up with firmware 2.0. We hope you enjoyed your flight with incomplete-news airways. We wish you a good stay on Eff-Doubleyou-Two-Dot-Oh. We recommend to pick up your baggage in the claim area.
VI. Baggage Claim Area
- You may now decide to set up your system clean and configure everything anew or simply
choose to restore your old settings(like eMail-accounts, calendar, photos, muzaq, and videos):
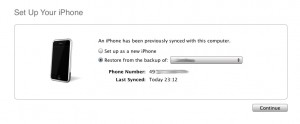
- After having clicked
Continueyou will see this picture. It depends on how many things you had saved on your iPhone and how much space it’s got. Our 4GB testmodel only took about 5 minutes to get all settings restored:
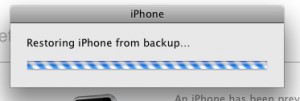
- After restoring the settings your iPhone will reboot…
- To get back your EDGE settings, simply follow our tutorial here (see part II.)_T_H_E__Z_E_N__W_A_Y_ . In firmware 2.0 the EDGE menu is now called “Cellular Data Network”).
VII. Final words
Congratulations. You’re finished now. In case any of you got questions, don’t hesitate to ask below in our comments section. We hope you enjoyed this tutorial. Thanks for your attention. Big shouts fly out to the iPhone Dev Team. You guys simply rock our hearts…

